If somebody asks a pool owner what their favorite part of the house is, there’s a good chance they’ll say it was their incredible swimming pool. With all the work that maintaining a pool requires, they have every right to be proud of it. However, not everyone is as eager to take care of their backyard oasis. They’d much rather call a pool resurfacing contractor in San Diego to do all the repairs and maintenance for them.
At some point, your pool’s surface will have become rough or damaged. When this happens, you’ll have to start thinking about pool resurfacing and all the different materials that you can choose from. If you’re not sure where to start, read on for the essential tasks that you need to do to prepare your pool for resurfacing!
How do I prepare for pool resurfacing?
Before getting to the preparation steps for pool resurfacing, let’s talk a little bit about what it actually is and what it entails.
Pool resurfacing means that the surface layer that’s between the shell of your pool and the water needs to be replaced. Over time, it gradually deteriorates under many factors such as the weather, the pH levels, chlorine in the water, etc. It’s nothing out of the ordinary for it to happen. As a matter of fact, it’s bound to happen to every pool regardless of how impeccable your maintenance routine is.
The most common damages to the pool’s surface are in the form of cracks, rust, stains, erosion marks, and discolorations. All of which indicates that there’s some inherent problem with the surface. The problem has to be taken care of, or it might cause more serious issues such as water drain, which in turn might cause further damage.
The preparation for the pool resurfacing is as vital as the resurfacing job itself. Thorough preparation will mean that the contractor, or you if you decide to do it yourself, can do a better and easier job. In the end, the goal is to do a quality and swift job, so you can enjoy your pool as fast as possible. Here are three steps to follow in your preparation for your pool resurfacing:
1. Stop using chemicals
Avoid using chemicals to treat your water for a few weeks prior to resurfacing appointment. This will mean that all the chemicals in your water will slowly decrease in concentration, and when the time comes for the next step, the water will be safe to drain.
2. Drain the water
Open the release valve and drain the water from your pool. If you’ve done the previous step, the water will be safe to drain, with little to no impact on the environment, as most of the chemicals will have been evaporated by the sun.
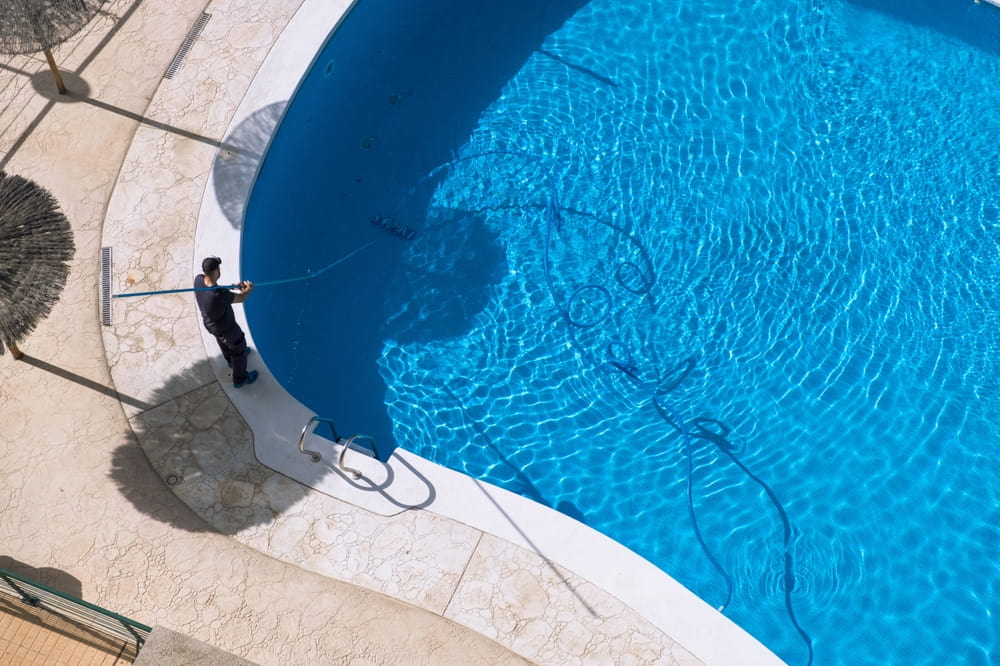
3. Clean your pool
Cleaning your pool might seem counterproductive at first. However, by cleaning your pool you’re actually exposing any hidden abnormalities on its surface. Whether those are a few cracks that were concealed by the built-up dirt, or something else entirely, it makes no difference. What matters is that the damages are going to be more visible, and will make the resurfacing much easier.
Looking for a highly professional pool resurfacing contractor in San Diego? Look no further!
With a little love and care, any swimming pool can become a focal point of any home. Creating your own little oasis in your backyard that you can enjoy sure beats going to the overcrowded South Mission Beach.
So, contact So Cal Custom Pools and Spas, and create your very own small paradise right in your backyard. Whether it’s a completely new pool installation, custom-made pool design creation or just a simple monthly maintenance check, we’ve got you covered. Contact us today and our team experts will be more than willing to help you out!